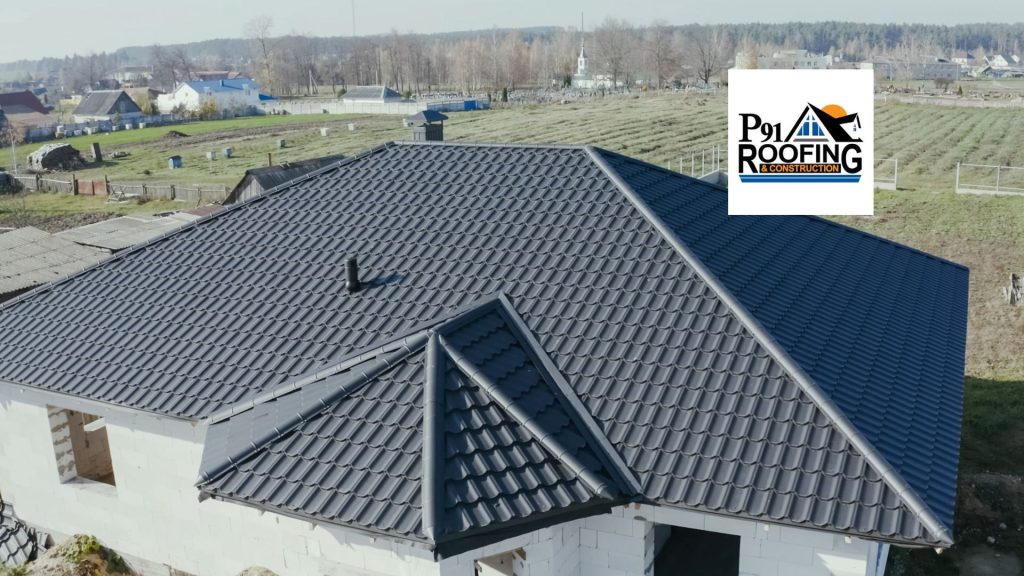
If you’re wondering how to install TPO roofing on your commercial building, this simple guide will walk you through every step.
Is your roof showing signs of wear from storms, hail, or the strong sun? If so, it’s time to upgrade! TPO roofs are durable, energy-efficient, and cost-effective.
In this guide, we’ll break down how TPO roofing gets installed and why it’s a smart investment for your business property.

What Is TPO Roofing?
TPO stands for Thermoplastic Olefin. It’s a roofing membrane made from large sheets of durable material that are heat-welded together to form a seamless, waterproof surface.
Why do business owners love TPO roofing?
- Reflects sunlight, keeping your building cooler and reducing energy costs
- Resists chemicals, dirt, and punctures—great for commercial environments
- Provides long-lasting protection with minimal maintenance
- Easy to repair if damage occurs
How to Install TPO Roofing
Step 1: Prepare Your Roof Surface
Before installing TPO, make sure your roof deck is clean and dry. Remove any old roofing materials, nails, or debris that could damage the new membrane.
Pro tip: Plan your TPO roofing installation on a calm, dry day to ensure the best results.
Step 2: Install Insulation Board
If your roof doesn’t already have insulation, install an insulation board next. This step improves energy efficiency and creates a flat surface for the TPO sheets.
You can secure the insulation with mechanical fasteners or adhesive depending on your roof type.
Step 3: Roll Out the TPO Membrane
Roll out the TPO sheets carefully, overlapping edges slightly to make sure water can’t get through. The membrane should be loose enough to expand and contract with temperature changes common in Texas.
Step 4: Secure the Membrane
Attach the membrane with mechanical fasteners or adhesive, spacing them evenly to prevent wrinkles or wind damage. This helps keep the roof tight and stable, even during strong winds.
Step 5: Heat Weld the Seams
This step is key for waterproofing. Use a hot-air welding machine to melt and fuse the overlapping edges into a strong, seamless bond.
Because this requires skill, it’s often best to have professional TPO roofing contractors handle it.
Step 6: Finish Edges and Details
Secure the roof’s edges and any penetrations like vents or drains with metal trims or flashing. Proper sealing here prevents leaks and ensures durability, which is why it’s an important step on how to install TPO roofing!
Step 7: Inspect the Roof Thoroughly
Once installation is complete, carefully inspect for any weak spots or wrinkles. A detailed inspection helps make sure your new TPO roof can withstand storms and hail.
Why Hire Professional TPO Roofing Contractors
How to install TPO roofing might sound simple, but it’s actually trickier than it looks. If it’s not done right, you could end up with leaks, weak spots, or a roof that doesn’t last as long as it should. That means more headaches and extra costs down the road.
Professional TPO roofing contractors have the right tools and safety gear to handle big commercial roofs safely. And because they’ve done this many times before, they can spot small issues before they become big, costly repairs.
Hiring a pro means your roof will protect your business the way it’s supposed to — keeping you worry-free for years!
Ready to Upgrade to TPO Roof? Call P91 Roofing Today!
If you’re looking to upgrade your roof with a TPO system, contact us. We’ve got the experience and know-how to get the job done right. Plus, we offer free estimates and easy 0% financing to help make your project simple and affordable. Just give us a call today to get your free quote, and let’s protect your business with a roof that lasts!